Choosing a plan and managing your subscription
Compare the four plans, start or change a subscription, read your usage meters, and manage payment from the Billing screen.
The Billing screen is where you pick a plan, see exactly what you are using against it, upgrade when you outgrow it, and manage your payment method. Walli-AI is self-serve across four plans with no sales calls and no custom contracts: you can start, change, or cancel a subscription yourself from this one page. This article covers the four tiers, the two views of the Billing screen (before and after you subscribe), the usage meters, and how upgrades and payment changes work.
What you can do
- Compare the four plans and see which one you are on.
- Start a subscription (with a short free trial on new accounts).
- Read your live usage: agents, storage, AI Unit budget, and a month-end forecast.
- Upgrade to a larger plan in one click.
- Manage your payment method, invoices, and cancellation through the secure billing portal.
The four plans
There are exactly four plans, and there is no tier above Scale: you grow past it with add-on agents and AI Unit packs rather than a custom contract. The plans differ mainly by how many agents you can run, how many seats you get, how much storage you have, and which account features switch on.
| Plan | Price | Spark agents | BYOK agents | Seats | Storage | SSO |
|---|---|---|---|---|---|---|
| Solo | $29.99/mo | 1 | 1 | 1 | 10 GB | off |
| Team | $79.99/mo | 2 | 3 | 3 | 30 GB | off |
| Business | $199.99/mo | 4 | 6 | 10 | 75 GB | on |
| Scale | $449.99/mo | 8 | 10 | 15 | 200 GB | on |
The agent count splits two ways because the two kinds of agent bill differently. Spark agents run on managed infrastructure and draw from your plan's monthly AI Unit budget; BYOK agents run on your own provider key and consume no AI Units. That distinction is the heart of your bill and is covered in depth in Plans, billing, and Spark vs BYOK agents. Business and Scale additionally turn on single sign-on. Roles and permissions, and the audit log, are on every plan.
Starting a subscription
If you do not yet have an active subscription, the Billing screen shows all four plans side by side with a Subscribe (or Start free trial) button on each.
- Open the avatar menu and choose Billing (
/billing). - New accounts see a banner offering a short free trial; the trial requires a payment method up front so your first real deliverable is not interrupted by a checkout wall.
- Click the button on the plan you want. You are taken to a secure checkout to enter payment, then returned to the app.
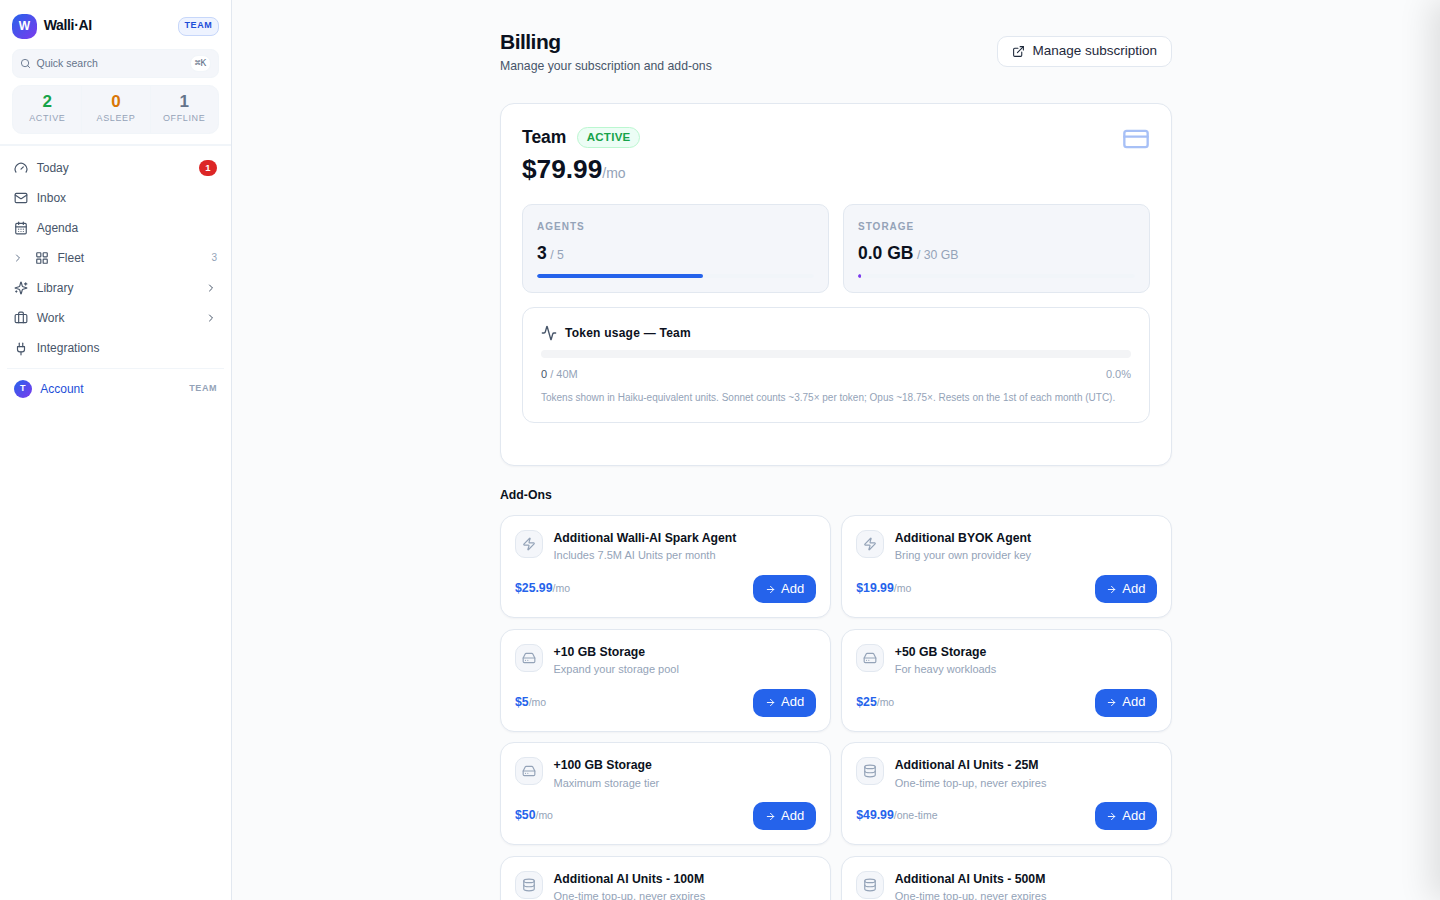
If your account predates paid billing, a short banner notes that you are on legacy access and everything keeps working; you can pick a plan whenever you are ready. The Most popular ribbon simply highlights the tier most accounts choose; it does not change what you get. This four-tier picker only appears before you subscribe, so a workspace that already has a plan (like the one shown below) sees its current plan instead.
Your current plan and usage
Once you are subscribed, the Billing screen leads with a card for your current plan: its name, a status badge (Active or Free trial), and the monthly price. Below it sit live meters, and a Manage subscription button sits in the header.
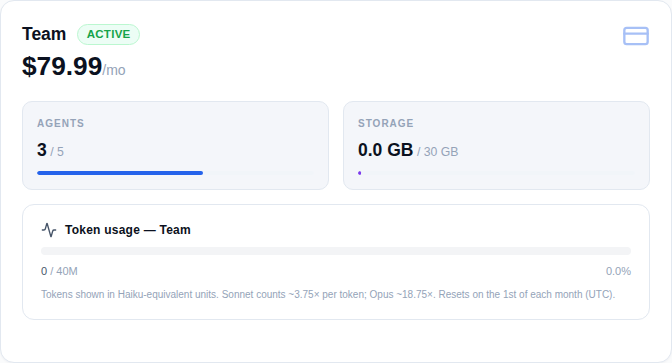
The meters read from your real usage, not estimates:
- Agents. How many agents you have provisioned against your plan's limit.
- Storage. How much of your storage pool is in use.
- AI Units. The month's Spark budget consumed so far, shown in AI Units (one Unit is
$0.000001of model usage at the rate AWS bills Walli-AI), with a forecast tile that projects where you will land by month end based on your current pace. - Cache savings. A tile and trend chart showing how much prompt caching has trimmed your Spark spend. Its headline number is counted in raw input tokens, not AI Units. A cached input token still draws on your budget: on most Claude models it counts at 0.1x a normal input token, and 0.05x on Sonnet 5.5 and Opus 5.5. Writing to the cache is charged too, at 1.25x a normal input token for a 5-minute write and 2x for a 1-hour write, and the tile's saving is net of those writes. On models whose input price is above
$1per 1M tokens (every Sonnet, Opus and Fable) your AI Unit saving is larger than the token count shown; on Claude Haiku 5.5, the default, it is about a tenth of it. - Safety upgrade. When a turn reads one of your workspace files, Walli-AI runs it on Claude Sonnet 5.5 for safety, and that turn uses AI Units at Claude Sonnet 5.5's price.
- Usage by agent. A breakdown of which agents are consuming the most, so a runaway agent is easy to spot.
These meters are the reason to keep the Billing screen close: they turn "am I about to run out?" into a number you can watch, and the forecast tile answers it before month end.
Model prices
This is what each model in the Spark picker costs: the price per 1M tokens, in US dollars, at the rate AWS bills Walli-AI. One AI Unit is one millionth of a dollar, so a price of 2.2 means 2.2 million AI Units per 1M tokens. A dash means the model has no separate rate for that kind of token.
| Model | Input | Output | Cache read | Cache write (5 min) | Cache write (1 hour) |
|---|---|---|---|---|---|
| Nova 2 Lite | 0.33 | 2.75 | 0.0825 | - | - |
| Nova Pro | 0.8 | 3.2 | 0.2 | - | - |
| Claude Haiku 5.5 | 0.11 | 0.55 | 0.011 | 0.1375 | 0.22 |
| Claude Sonnet 5.5 | 2.2 | 11 | 0.11 | 2.75 | 4.4 |
| Claude Opus 5.5 | 4.4 | 22 | 0.22 | 5.5 | 8.8 |
| Mistral Large 3 | 0.5 | 1.5 | - | - | - |
| Nemotron 3 Super | 0.15 | 0.65 | - | - | - |
| GPT OSS 120B | 0.15 | 0.6 | - | - | - |
| Qwen3 VL 235B A22B | 0.53 | 2.66 | - | - | - |
| Qwen3 Next 80B A3B | 0.14 | 1.2 | - | - | - |
| Qwen 3 Coder Next | 0.5 | 1.2 | - | - | - |
Upgrade or change plan
- On the subscribed view, scroll to Upgrade Plan. Only plans larger than your current one are offered, each showing its agent count and storage.
- Click Upgrade on the tier you want. Checkout handles the prorated difference and the new limits take effect right away.
- To downgrade, cancel, or switch payment details, use Manage subscription (below).
Upgrading is the right move when you keep hitting an agent or seat ceiling. If you only need a little more of one thing (an extra agent, or more storage) an add-on is often cheaper than a whole tier; see Add-on agents, storage, and AI Unit packs.
Manage payment, invoices, and cancellation
The Manage subscription button opens the secure billing portal in a new flow. There you can update your card, download invoices, change your billing email, switch plans, and cancel. Walli-AI never stores your card number; payment is handled by the payment processor, and the portal is the authoritative place for anything to do with money on your account.
Prices, allowances, and limits shown in the app are always the current ones because they come straight from the billing catalog. If a number in this article and a number on the Billing screen ever disagree, the screen is right.
Tips
- Watch the AI Units forecast tile a few days into a busy month; it tells you whether to buy a pack or ride it out before you actually run dry.
- If you are hitting an agent limit but your AI Unit budget is fine, a single add-on agent beats jumping a whole tier.
- Use Manage subscription for anything involving your card or invoices; it is the secure, authoritative surface for payment.
- Business and Scale unlock SSO; if your team needs enforced sign-on, that is the line to cross. Roles and permissions, and the audit log, are on every plan.